Start with the event journey, not the artwork
Before anyone starts designing, map the full guest journey. Think about where people arrive, where they park, where they register, where they collect name tags, and how they move between the main hall, outdoor areas and sponsors stands. A good event signage plan answers questions before guests need to ask them.
For Durban events, weather and traffic matter as much as the layout. Strong sun can fade temporary print faster than expected, and a late afternoon sea breeze can lift light banners if they are not fixed properly. If the venue is in Umhlanga, Pinetown or along the North Coast, allow time for site access, security clearance and loading bay rules, because those small delays can affect install times.
- Confirm the event date, site access times and breakdown window.
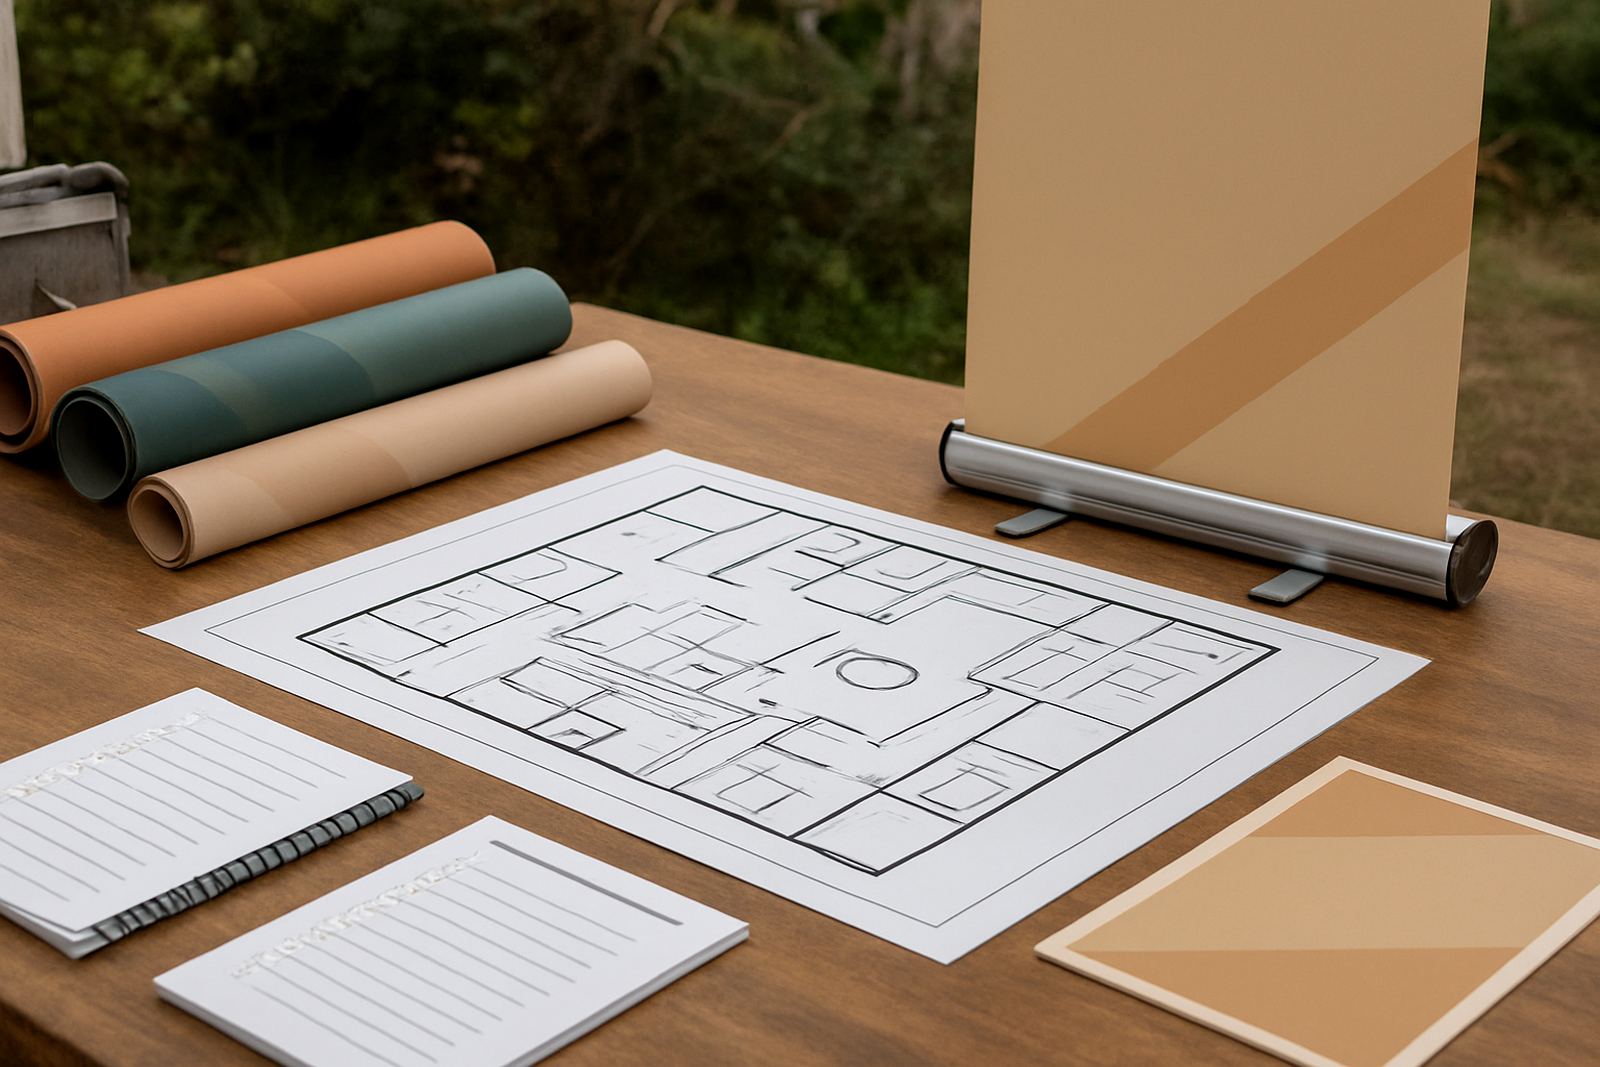
- Mark all guest touchpoints on a simple floor plan.
- Identify indoor and outdoor signage needs separately.
- Check if the venue needs proof of public liability or a sign off sheet.
- Plan for rain cover, wind exposure and low light after sunset.
Registration areas need clear, simple signs
The registration point is where confusion starts if the signage is weak. Guests should be able to see it from a distance, then understand exactly where to queue, where to collect badges and which table is for prepaid, walk in or VIP attendees. If there are multiple entry points, use repeated signs so that no one has to double back.
For temporary registration areas, keep the wording short and direct. Long sentences are difficult to read when people are walking or standing in a queue. Use bold headings, one message per sign and enough contrast so the text reads well under hall lighting or early morning shade.
- Main registration sign at eye level or above the queue line.
- Directional arrows from parking, lifts and entrances.
- Separate signs for speaker check in, media, exhibitors and guests.
- Table markers for alphabet or category sorting.
- Floor stickers only where the venue allows them and where removal will not damage the finish.
If the event is at a hotel, school hall or municipal venue, confirm whether taped signs are allowed on walls, glass or polished floors. Some venues in eThekwini have clear rules on adhesive use, and it saves time to know that before print day.
Choose the right format for each space
Not every sign should be a banner. Large format printing works well for sponsor walls, backdrops and directional boards, while roll-up banners suit entrances, speaker areas and press points. Light boxes help where the venue is dark or the sign must be visible through the evening. For outdoor edges, flags and rigid boards handle movement and weather better than light paper print.
Chromadek signs are useful for long-lasting temporary work where the client may want to keep the board after the event or move it to another site. Perspex and ABS signs suit cleaner presentation areas, especially at corporate functions, product launches and award evenings. Window frosting and contra-vision are handy for glass doors, side panels and branded privacy screens.
- Roll-up banners for entrances, lobbies and stage sides.
- Flags for car parks, road approaches and outdoor wayfinding.
- Rigid boards for site maps, sponsor signage and safety notices.
- Light boxes for evening visibility and dim indoor venues.
- Window graphics for glass fronts, meeting rooms and temporary branding.
The best choice depends on viewing distance, wind load, light levels and how long the sign must stay up. A sign that looks fine on a layout can perform badly if it is too light for the site or too small for the distance.
Do not forget sponsors, compliance and safety
Event signage is not only about branding. It also supports safety and compliance. Emergency exits, no smoking zones, loading directions and restricted access points all need clear signs. If the event has food stalls, equipment areas or electrical points, those zones should be marked so staff and guests stay out of trouble.
Sponsor recognition should be planned early because it affects the artwork count and print sizes. If a sponsor has paid for a board or banner, confirm the exact logo version, size and placement before production starts. Mistakes here are expensive to fix on short notice and can delay installation on the day.
- Emergency exit signs placed where they can be seen from every key area.
- Safety notices near generators, cables, wet floors and kitchen zones.
- Sponsor boards listed in order of size and placement.
- Venue compliance signs for smoking, access control and restricted staff areas.
- Removal plan for every temporary item after the event.
At larger Durban venues, especially where load shedding or backup power is part of the plan, make sure any illuminated signage can stay visible without creating a trip hazard from cables. A neat installation is safer and looks more professional too.
Build in enough time for artwork and production
Temporary signs still need proper artwork setup. Fonts must be readable, colours should work on the chosen material and the final size needs checking before print. If the event site has a lot of sunlight or reflective surfaces, the print choice may need adjustment so the wording stays clear.
Allow time for site surveys when the event is complex. A quick visit can confirm wall heights, glass widths, mounting points and access routes for installation. That is especially useful for outdoor events near the coast, where wind, humidity and salt air can affect how a sign is fixed and how long it stays looking clean.
- Finalise the floor plan and sign schedule first.
- Approve artwork with the correct spelling, times and venue names.
- Allow for print, lamination and fabrication time.
- Book installation and removal slots with the venue.
- Keep a spare set of small directional signs for last minute changes.
For many clients, the easiest way to avoid last minute pressure is to treat event signage like a mini project with its own checklist. That means one person signs off the artwork, one person confirms the venue rules and one person checks the install on site.
A local Durban example: three areas, one event
Consider a two day business event with a registration point in Durban North, a sponsor display area in Umhlanga and an evening function in Pinetown. The client would need entrance banners, room direction signs, table markers, sponsor boards, pull up banners, window graphics and a few outdoor flags for visibility from the parking area. The same event may also need temporary signs for toilets, disabled access and staff only areas.
In that sort of setup, the biggest risk is not the printing. It is the handover. If the signage list is not matched to the venue plan, boards end up in the wrong room or are installed too late for the first guests. A clear job sheet, site survey and install schedule solve most of that before the event day starts.
- Map signs to exact rooms, doors and outdoor points.
- Number each item so the installation team can work faster.
- Confirm transport, parking and venue contact details.
- Keep a backup copy of the signage schedule on site.
For event work across eThekwini and the North Coast, the practical goal is simple: guests must find their way without asking twice.
Final checks before gates open
The last hour before an event opens is when small mistakes show up. Check that every sign is straight, clean and placed at the right height. Make sure roll-up banners are locked, rigid boards are stable and window graphics are free of bubbles or lift at the edges. If it is an evening event, walk the route again after lights are on.
It also helps to assign one person to monitor signage during the day. Wind shifts, foot traffic and accidental bumps can move a banner or rotate a floor sign out of view. A quick maintenance visit during the event is often enough to keep everything in place and legible.
- Walk the full guest route before doors open.
- Check every directional sign from the guest view, not only up close.
- Remove packing, tape offcuts and installation waste.
- Keep a touch up kit for minor fixes and repositioning.
- Plan breakdown and storage so reusable items stay in good condition.
Good event signage does not draw attention to itself. It quietly keeps people moving, reduces questions and makes the venue feel organised from the first arrival to the last departure.