
Start With Access, Parking and a Clear Work Zone
The first thing to sort out is where the team can park, unload and work without interruption. In busy areas like Briardene, Umhlanga and Pinetown, a blocked driveway or a no-parking bay can slow the whole visit, especially if the sign is large or needs a cherry picker or ladder setup. Make sure security, reception and any tenants know the installation time and who will be moving on site.
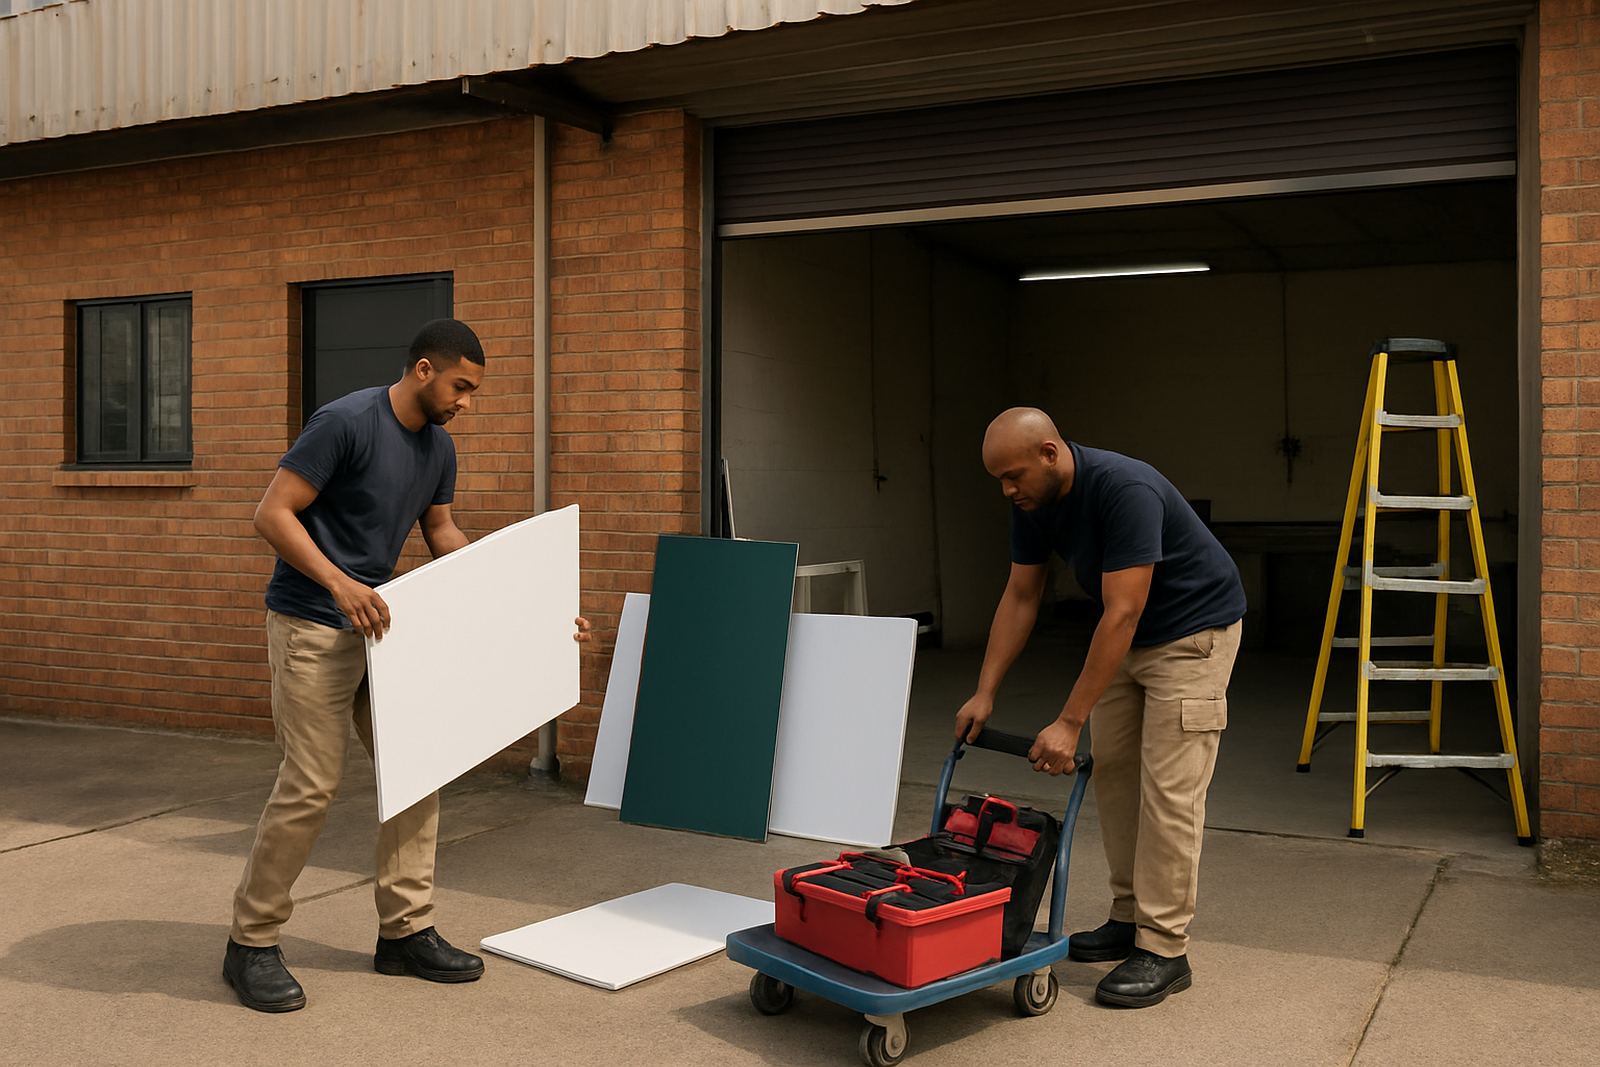
If your premises share a yard or entrance with other businesses, mark the exact entry point and keep it open. Where possible, reserve a small area close to the wall or shopfront so tools, panels and ladders can be moved safely. This matters even more on windy coastal days in Durban North and along the KZN North Coast, where handling large boards outside for too long can be awkward.
- Keep parking bays closest to the install area open
- Remove bins, pallets and delivery cages from the work zone
- Give access codes, gate instructions or visitor rules in advance
- Warn neighbouring tenants if drilling, cutting or lifting will happen near shared walls
Make Sure the Surface Is Ready for Fitting
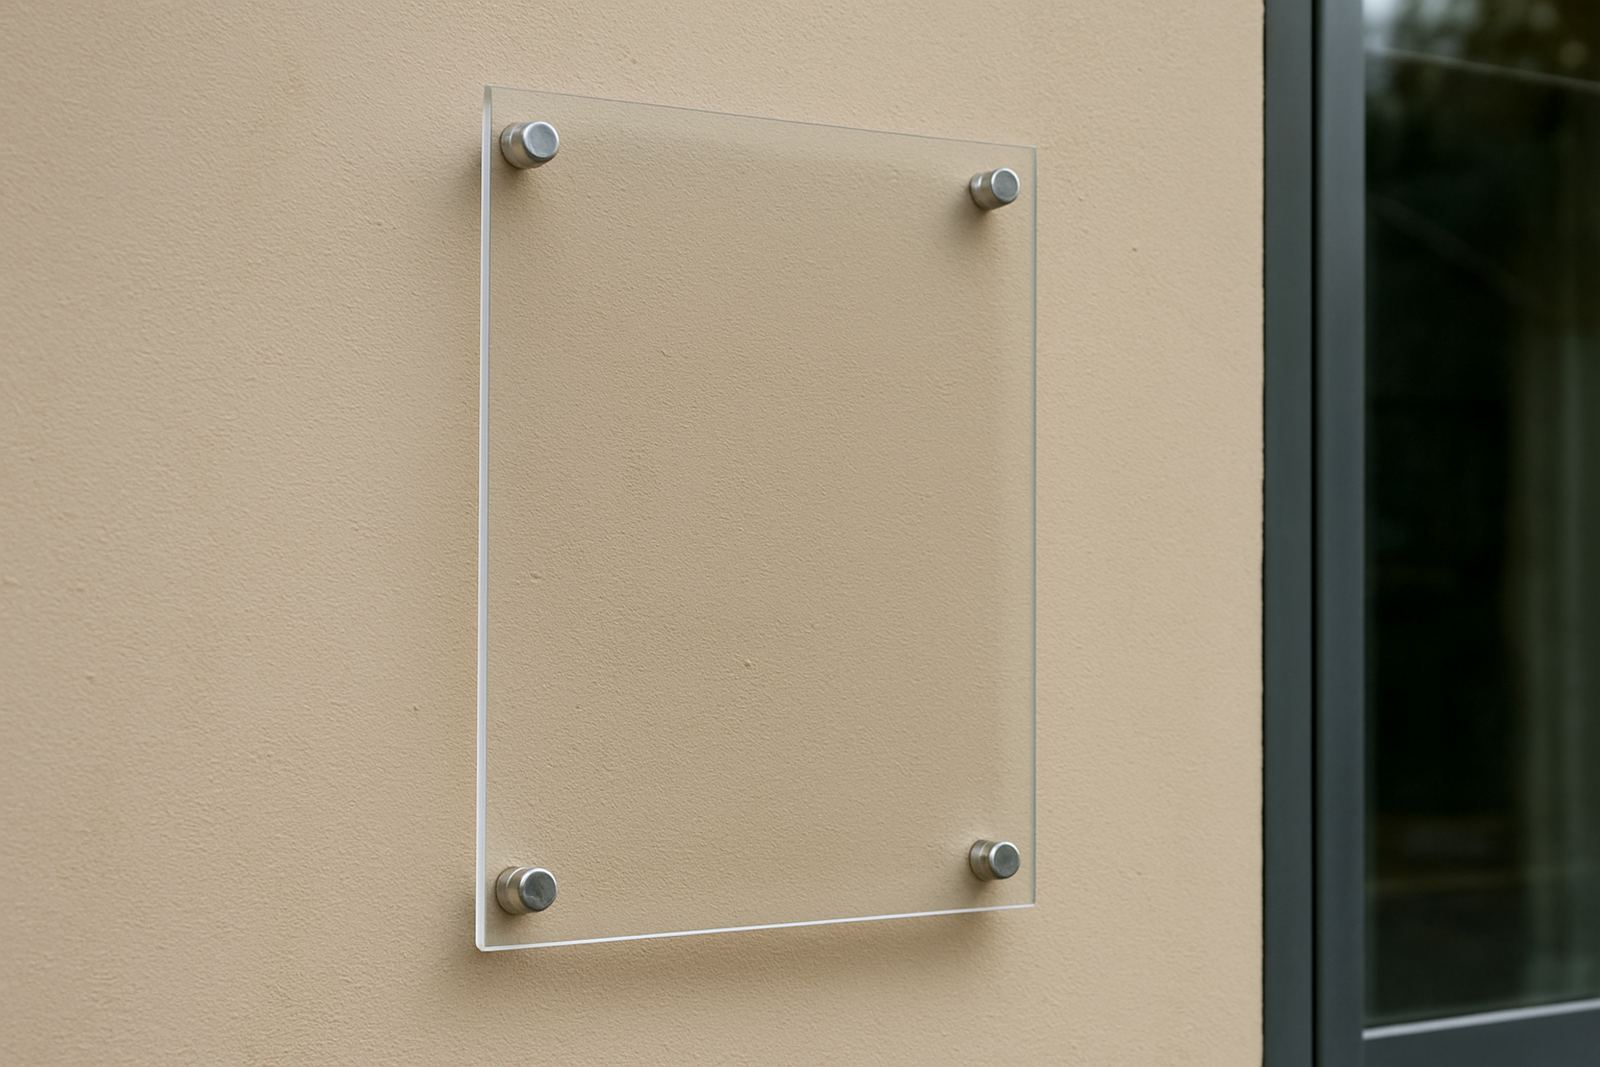
A sign can only sit properly if the wall, fascia, glass or panel is ready. Before installation day, check that the mounting area is clean, dry and free of loose paint, rust or cracked plaster. If the surface is damp or uneven, the fixings may need extra prep, and that can add time on site. For coastal premises, salt in the air can leave a film on metal or glass, so a proper wipe-down helps a lot.
If you are replacing an old sign, remove anything that is no longer needed and leave the mounting surface visible. Old screws, adhesive residue and damaged cladding should be flagged early. It is also worth checking for water leaks or cracking around the area. A sign fitted over a failing surface may look fine for a few days then start giving trouble.
- Wash the wall or glass area a day before the visit if it is dusty
- Remove loose fittings, old banners and hanging wires
- Report any soft plaster, rust patches or cracked panels
- Keep a dry cloth handy for a final wipe before fixing starts
Sort Out Power, Lighting and Working Hours Early
For illuminated signs, light boxes or any installation that needs testing, power access should be arranged before the crew arrives. If the circuit is locked away, hard to reach or shared with other equipment, the team may need to wait while someone switches it on. In areas where load-shedding or backup power is part of the day, it helps to know when electricity will be available so testing can be planned properly.
Speak to your building manager, landlord or electrician ahead of time if any wiring needs to be isolated or checked. Keep in mind that some centres and business parks have fixed work hours for noisy jobs, lifting or after-hours access. A clear time window avoids delays, and it also helps if there are customers on site. One or two extra minutes of planning can save the crew standing around while someone looks for a switchboard key.
- Confirm whether mains power will be available for testing
- Tell the team about generator or backup supply points
- Check access times for malls, offices or industrial parks
- Arrange a responsible person to approve final power on and off
Keep Measurements, Artwork and Approvals Close at Hand
Most installation delays do not come from the fitting itself, they come from missing details. Have the final artwork approved and ready, and make sure everyone on your side knows what is being installed. If you are fitting several signs across a site, label each one clearly so the team does not have to guess which panel goes where.
It also helps to have the site survey notes nearby. That includes wall sizes, window sizes, fixing points and any notes about height restrictions or obstacles. For shopfront installations in places like Westville, Phoenix and Verulam, small differences in fascia size can change how a sign sits. Having the correct drawing or layout on hand avoids confusion when the crew starts measuring on the day.
- Keep approved artwork in one folder or message thread
- Label signs by location, for example front fascia, side wall or window
- Have the site contact available to answer quick questions
- Share any last minute changes before the team leaves the workshop
Plan for People, Customers and Safety on the Day
If your business is open while the install happens, make sure staff know where the work area starts and ends. Customers should not walk under ladders, near drilling points or through a cordoned section. A simple barrier or a few cones can make the job safer and calmer for everyone. If the team is installing a sign at height, keep the area below it clear until the final fixings are done.
Inside the premises, move stock, furniture and fragile items away from the work face. Dust and small offcuts travel further than most people expect. In retail spaces, cover nearby product displays if drilling or cutting will take place near the entrance. A little bit of preparation avoids damage and keeps the shop looking presentable during trading hours.
- Brief your staff on where not to stand or store items
- Protect nearby stock, glass counters and floor surfaces
- Keep children and visitors away from the work zone
- Provide a clean handover path once the install is complete
What a Good Handover Should Include
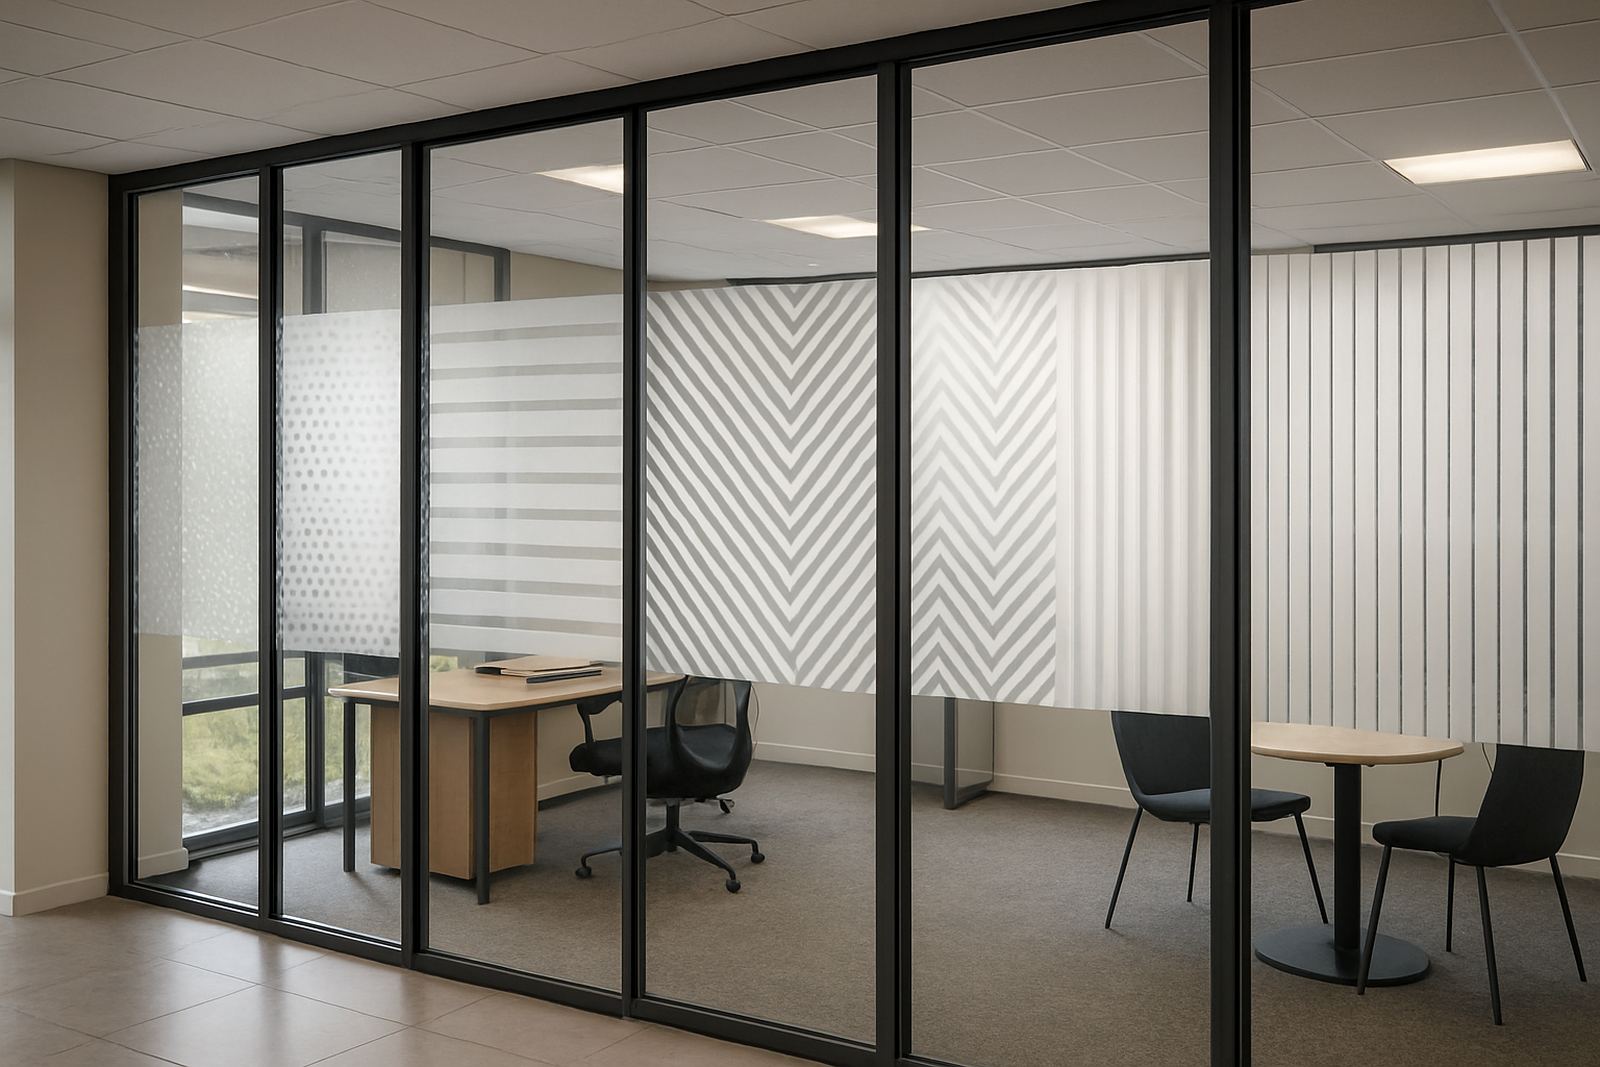
Once the sign is up, take a few minutes to inspect it with the installer before everyone leaves. Check alignment, finish, fixings and any lighting function where relevant. If the job includes window frosting, contra-vision or printed graphics, confirm that the edges are neat and that the view, privacy or branding effect is as expected. Small issues are easier to spot immediately than after the crew has packed up.
A proper handover should also cover care notes. Ask how long adhesive needs to settle, when the sign can be cleaned, and what to avoid in the first few days. In humid Durban weather, it is worth knowing how often to check for lifting edges, dirt build-up or moisture around fixings. If you plan to install more signage later, keep a note of what worked well on this visit so the next one runs even smoother.
- Walk around the sign and check it from different angles
- Test lighting and switches before sign off
- Ask for care and maintenance guidance if needed
- Keep the sign layout and site notes for future additions
A Local Example From Briardene to Ballito
A typical install day in Durban North might start with a retailer in Briardene needing a new fascia sign, a window graphic and a light box fitted before opening time. The site manager clears the parking bays, the wall is wiped down the afternoon before, and the power point is confirmed the day before the visit. By the time the team arrives, there is space to work, the artwork is approved and the staff know which entrance to use.
That simple preparation usually means the installation moves faster, with less back-and-forth and fewer disruptions to trading. The same approach works just as well in Umhlanga, Pinetown, Ballito or Tongaat. Whether it is a small shopfront panel or a full signage refresh, a prepared site helps the crew focus on accurate fitting, clean finish and safe working. It is one of those jobs where a bit of planning up front saves everyone a lot of time later.