1. Start With The Job Your Vehicle Must Do
Before any artwork is cut, think about what the vehicle must achieve. A single bakkie used for callouts in Umhlanga does not need the same layout as a 12 vehicle fleet covering Pinetown, Phoenix and the KZN North Coast. The best results come from matching the graphics to the route, the parking conditions and how often the vehicle is on the road.
For service vehicles, the main aim is usually fast recognition. For delivery vans, the priority may be contact details, brand name and a clear services list. For sales vehicles, the finish may need to look smart at close range because the driver is meeting clients often. Coastal humidity, sun exposure and load shedding related parking in dark yards all affect material choice and placement, so it pays to plan properly from the start.
- Decide what people must notice first
- List the information that must be visible from 5 m, 10 m and 20 m
- Check whether the vehicle is garaged, parked outside or used on sites
- Confirm if the branding must suit one vehicle or a full fleet
2. Decals, Partial Wraps Or Full Fleet Layouts
There are three common approaches. Decals are ideal for logos, contact details and smaller graphics on doors, tailgates and windows. Partial wraps cover larger sections of the vehicle, often the sides and rear panels, and give more room for bold colour blocks and messages. Full wraps cover most of the body panels and suit businesses that want maximum impact, but they also need more preparation and more care during installation.
For many Durban businesses, decals and partial wraps are the practical choice because they keep costs under control while still giving strong visibility. A well planned partial wrap can look cleaner than a full wrap that is crammed with too much copy. On smaller vehicles there is often more value in a simple layout that is easy to read in traffic than in trying to fill every panel.
- Decals work well for names, numbers and logos
- Partial wraps suit service teams, sales teams and deliveries
- Full wraps are best when you need a bold, uniform look across a fleet
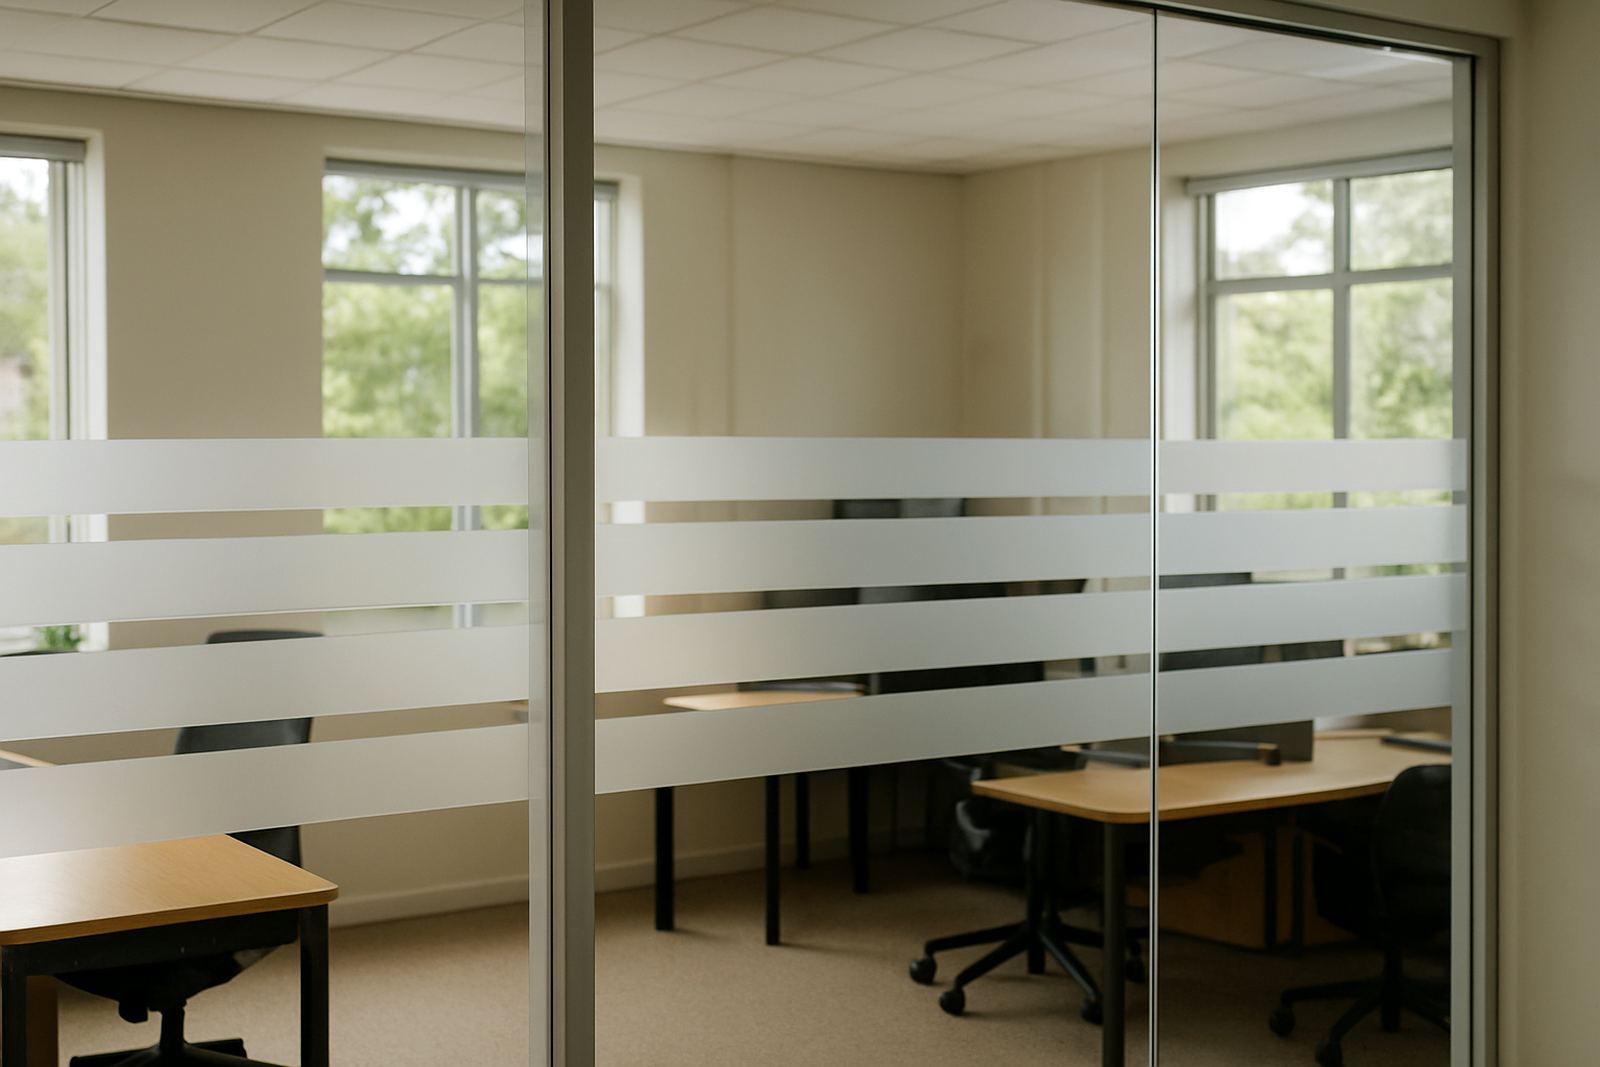
- Windows can carry frosting or contra-vision where visibility is still needed
3. Planning The Artwork Before Anything Is Printed
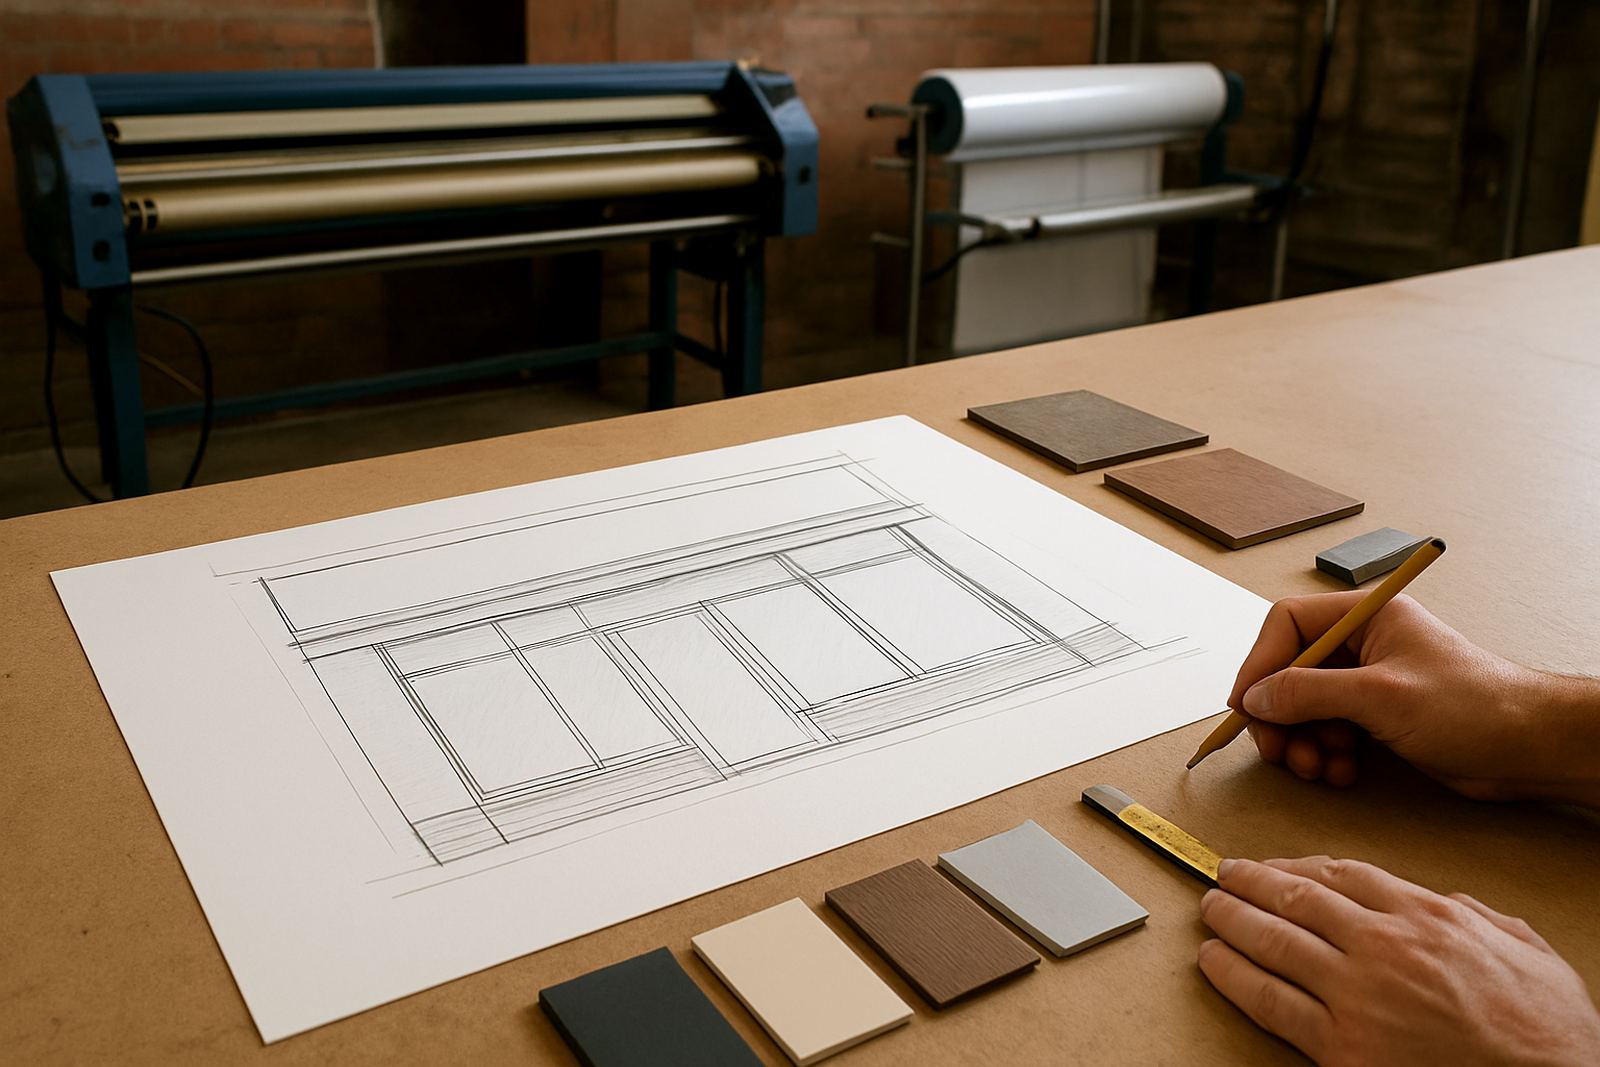
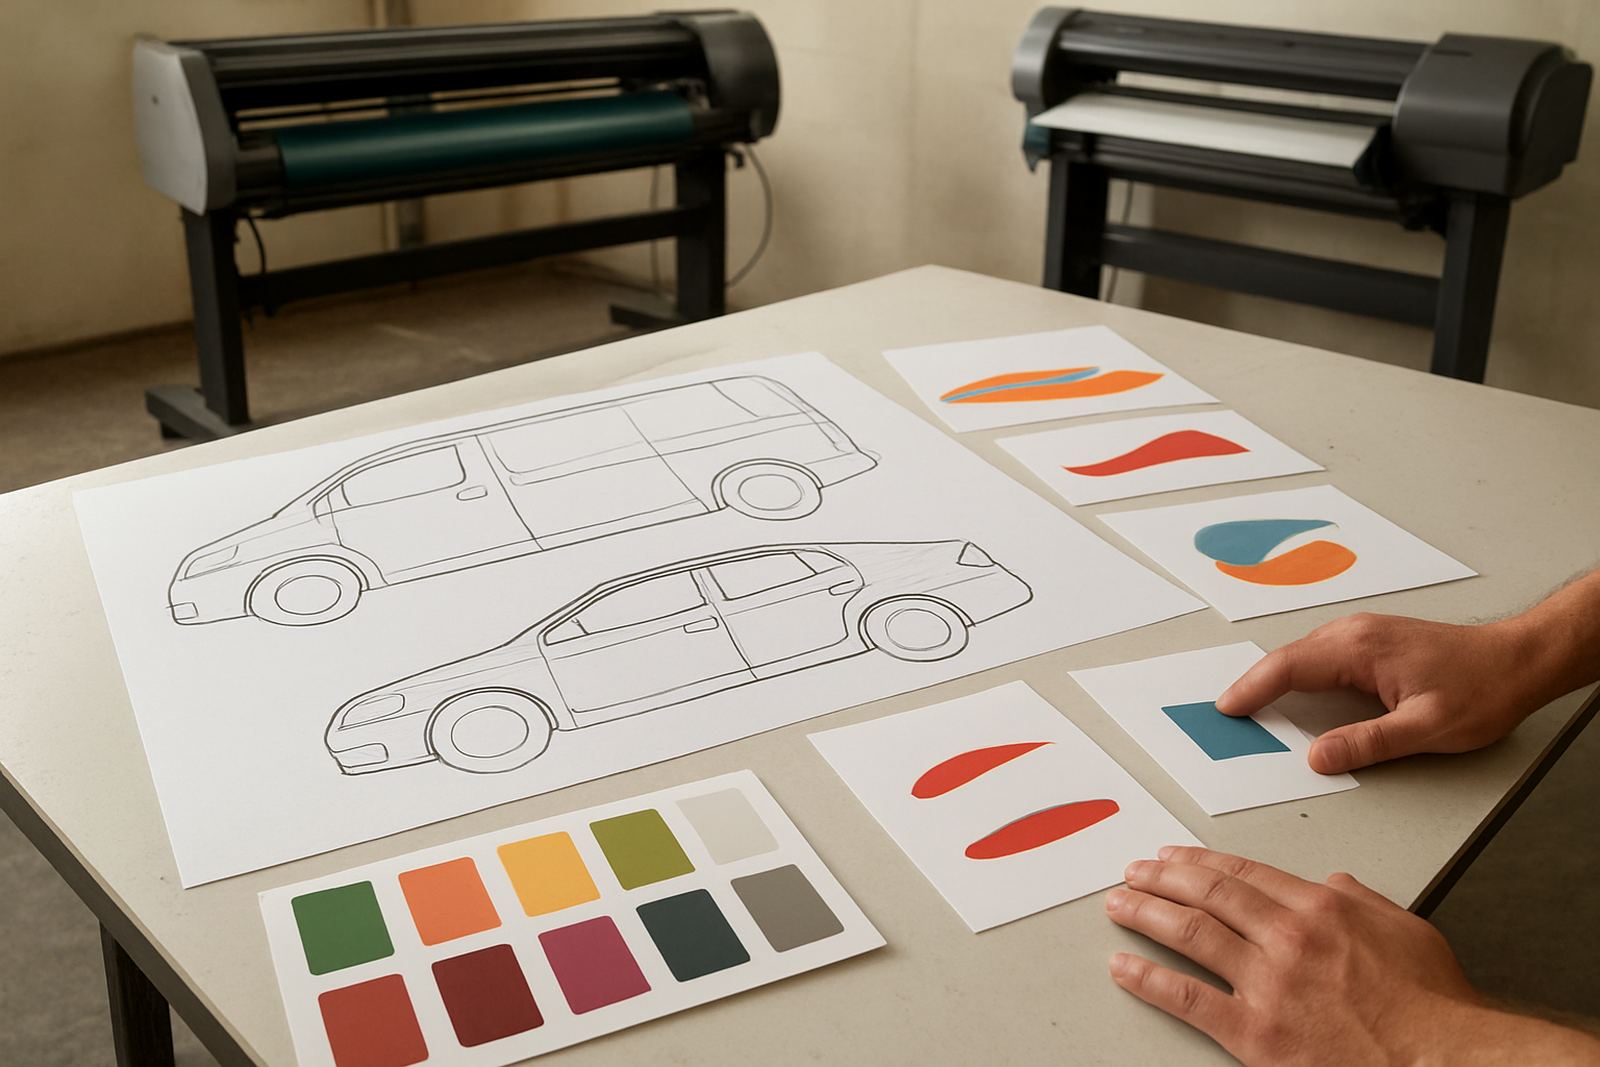
Good vehicle graphics start with accurate measurements. Every panel, handle, curve and fuel cap changes the layout. We take site surveys and vehicle checks before artwork is finalised, especially when the job includes fitted signs, roof bars, canopies or uneven body panels. This avoids awkward joins and helps the design sit correctly on the vehicle.
The artwork should also be planned around real world viewing. The side panel is often read from a moving car, while the rear door is seen by traffic stuck in a queue. That means larger lettering, fewer words and stronger contrast are normally better. If the same vehicle works across Durban North, Westville and Tongaat, the branding must remain clear in sun, rain and evening traffic.
At this stage, it helps to confirm the exact wording, the colour match and where the graphics stop and start. Small details matter. A logo placed too low can be blocked by mud or a bumper, and fine lettering can disappear when the vehicle is moving.
- Bring the vehicle dimensions or book a site survey
- Confirm the final wording, spellings and numbers
- Check panel condition for dents, rust or old adhesive
- Approve a layout that reads well at speed
4. Material Choices For Durban Conditions
Durban weather can be hard on signage. Heat, moisture, sea air and regular washing all affect how long vehicle graphics last. That is why the choice of vinyl, laminate and print method matters. For many applications, printed vinyl with a protective laminate gives good outdoor durability and makes cleaning easier. Cut vinyl is useful for strong single colour lettering and simpler logos.
On windows, contra-vision allows graphics to be seen from outside while still allowing the driver to see out. Window frosting is useful for privacy on vans, canopies and office vehicles that carry stock or equipment. If a vehicle spends a lot of time near the coast, the edges and corners need careful finishing so lifting does not start early. Proper surface prep is not optional, it is the part that keeps the job on the road longer.
We also consider where the vehicle is kept after hours. A bakkie parked outdoors in Briardene faces different conditions to a van kept under cover in Ballito. That affects material selection and maintenance advice.
5. Installation Steps That Keep The Finish Clean
Installation is where careful planning turns into a proper result. The vehicle must be cleaned thoroughly, including panel edges and handle recesses. Old silicone, wax and road film can stop adhesive from bonding well. For fleet work, we also check that every unit matches in size and placement so the brand looks consistent across all vehicles.
During fitting, panels are aligned, squeegeed down and checked for bubbles or edge lift. On larger partial wraps, the installer works section by section so the film settles correctly around curves and seams. After fitting, the vehicle should be left as advised before heavy washing or high pressure cleaning. If the vehicle has just been installed, do not rush it back into rough use on the same day.
- Wash and degrease the vehicle properly
- Remove old stickers, loose paint and damaged trim where needed
- Align graphics with door gaps, handles and wheel arches
- Allow the adhesive to settle before washing
6. Keeping Fleet Branding Looking Good After Installation
Vehicle graphics are a working asset, so a little maintenance goes a long way. Regular cleaning with mild soap and water will help the colours stay sharp. Harsh chemicals, abrasive pads and repeated high pressure washing close to the edges can shorten the life of the finish. If the vehicle is used for site work, it may need more frequent inspection because dust and impact from daily use can damage corners.
For fleets, it is worth checking the graphics at service intervals. Look for small lifts, scratches, fading or damage near hinges and handles. If a vehicle is sold, repurposed or removed from service, professional sign removal helps protect the paint and leaves the panel ready for a new layout or a resale handover. We also handle refurbishment and maintenance visits when a fleet needs updates rather than a full replacement.
A well looked after vehicle can carry a business name for years. The best layouts are the ones that stay readable, look tidy and keep working without fuss. That is the real value of proper fleet branding, and it saves money in the long run.